I made a stool for my shop with a piano style screw height adjustment. The basic plan was published in Woodsmith #201. I made a few changes which I will describe in the post.

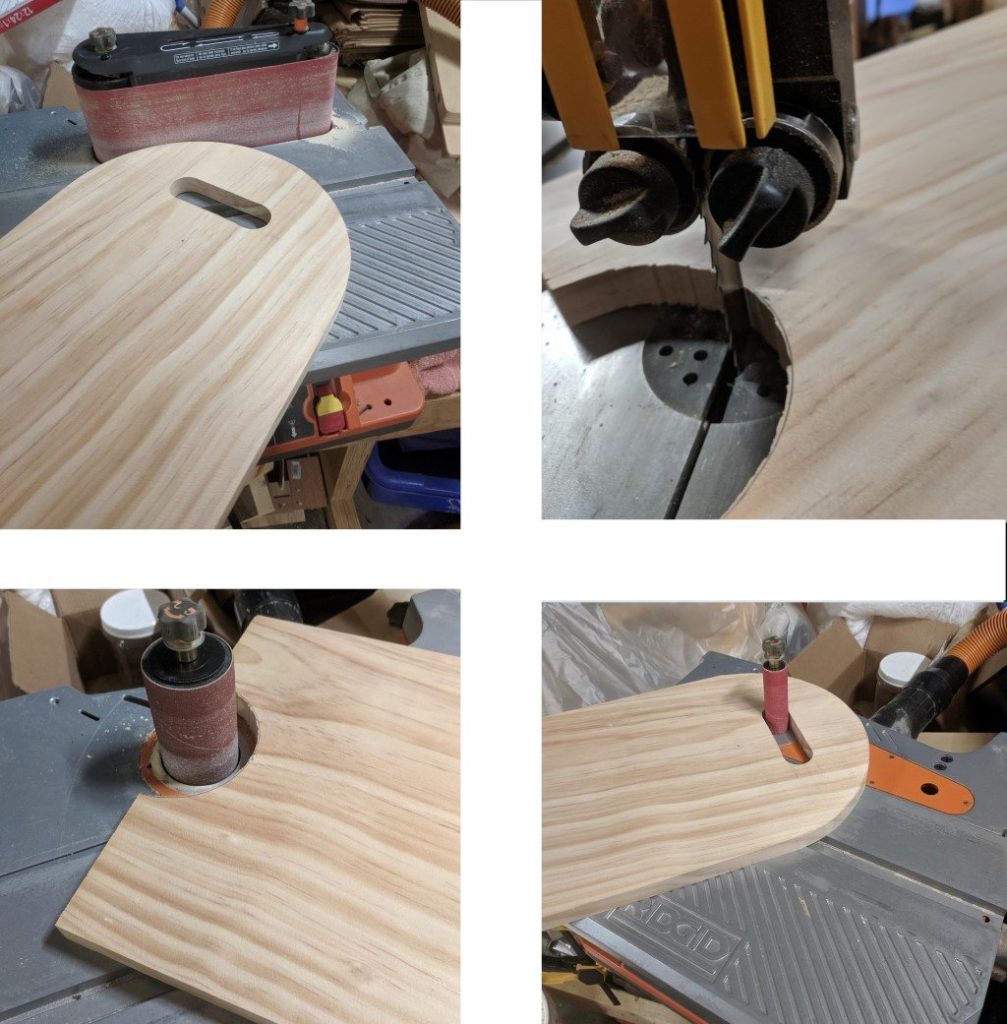
I started on the legs. I changed the leg pattern to make a broader foot and a wider top where it attaches to the hub to increase the strength. I laid all four legs on a single piece of 5/4 red oak – nesting them to reduce waste, and allowing the dado that accepts the hub spline to be cut along one side of the board to be cut simultaneously for all four legs. I then detached the legs from the board one at a time on the bandsaw.

After detaching a leg I immediately drilled a 1/4 inch pilot hole for attachment of the footrest ring. This hole had to be drilled before the finished leg shape could be completed on the bandsaw to all the hole to drilled at the correct angle.

Splines are used in the stool to attach the legs to the hub and strengthen the segments of the 8 sided footrest blank. I used walnut to provide contrast with the oak. I resawed the walnut to end up with a 5/16 thick spline for both the Hub and the ring. If I make another, I will use a tougher wood – probably brazilian cherry or cocobollo.

Here is what the footrail looks like after the glueup. You can see where the walnut splines stick through the dado cut in each end of the 8 segments, each angled at 22 1/2 degrees. I made the ring and legs thicker than specified in the plans (1 1/4 inches) to allow me to use a thicker spline.

Here is the Hub with the walnut splines already glued in. The Hub is 4 inch x 4 inch – made of laminated red oak. The hole through the middle was drilled before cutting the dados for the splines. I drilled the hole from the top all the way through to ensure that any drift wouldn’t adversely affect the two part screw mechanism. Being as careful as I could (checking square on the drill press table), I still ended up with about 1/8 inch of drift from top to bottom. That would have been too great an error if I had tried to drill from each side and meet in the middle.

I made the seat thicker than specified – 1-1/4 instead of 1 inch. Since it would be dished out in the center I wanted a little extra thickness for attachment to the top of the screw plate. I also didn’t glue up a square but rather figured the lengths I would need to extend just past the perimeter of a 14 inch circle.

The plans called for making plywood 12 inch plywood rings and then attach veneer to the face of the plywood. Rather than do that, I just used leftover 5/4 oak scraps to construct a beefier version with a square center large enough to accommodate the seat plate on the top of the screw mechanism.

I then used my bandsaw circle cutting jig to cut the circles in the seat and sub-ring. I made a square hub that fit inside the sub-ring and the foot rest ring to allow the hollow rings to pivot on the jig.

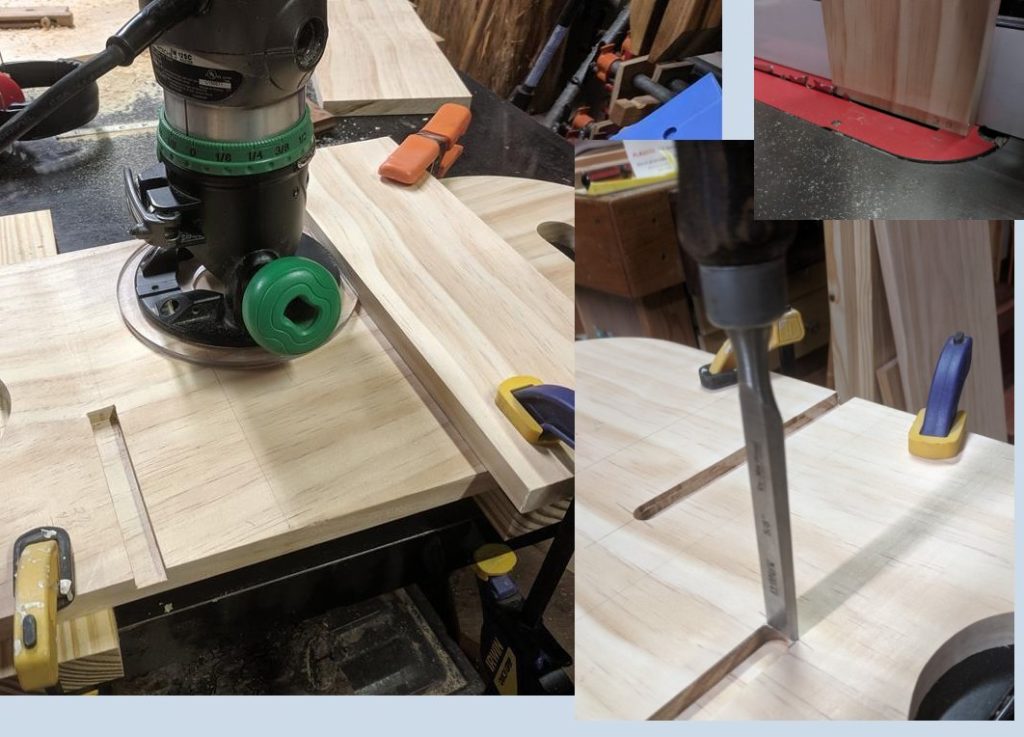
I just my router table with a 1/2″ round-over bit to shape the outside edges of the legs and to give the footrest ring its final shape. I finish sanded to 220 grit.

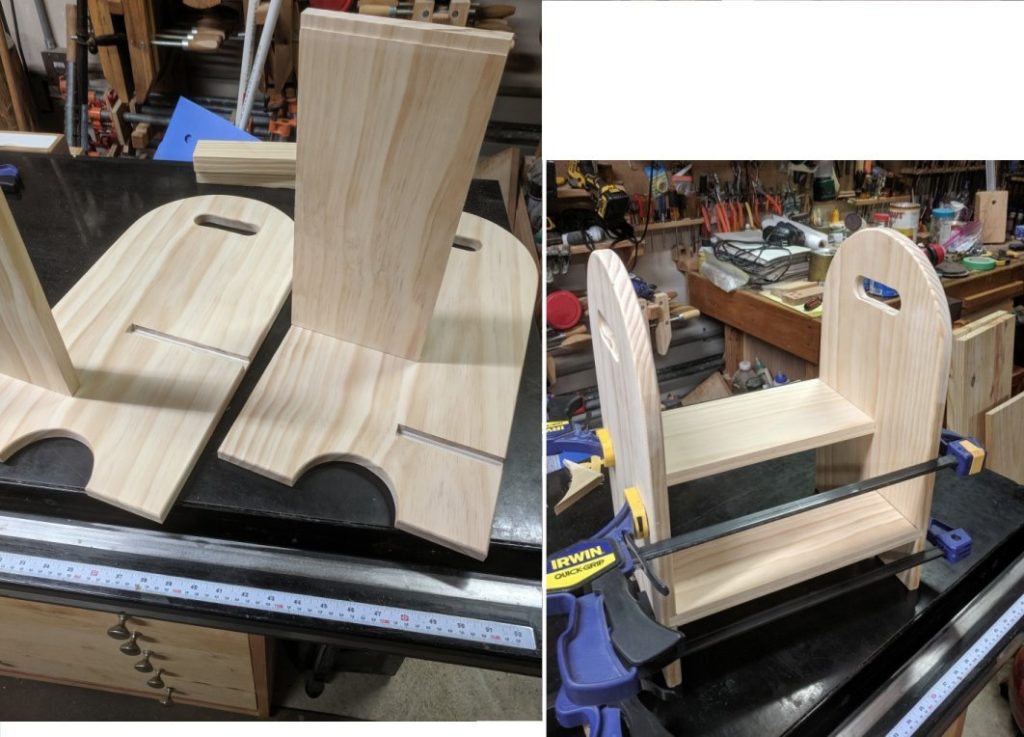
With the base pieces all sanded, I did some assembly. Applying glue to the dados in the legs, and clamping the footrest ring to the mating half round drilled to accept it in the leg. After the glue set up, I used the pilot holes pre-drilled in the legs to drill through the foot-ring and installed 1/4 inch carriage bolts. I had a bit of trouble during assembly with the glue setting up quickly on the Hub splines. If I do it again, I will glue each leg in 4 separate operations. Allowing an hour of dry time between. I would clamp the leg to be glued in the vise and set the hub spline into the dado. Then use a shaped clamping caul that allows a bar clamp to exert adequate force to hold the joint together.

Next it was time to do the seat sculpting. I used my portable circular saw to cut 1/4 inch deep kerfs in the center of the seat. Always aligning the blade to run through the center of seat, and keeps the rear and front edge of blade at least four inches from the perimeter of the seat. This gave me a depth gauge to go by when using a sweep gouge and mallet to remove the majority of the material. My orbital sander with 60 grit paper removed the gouge marks quickly. I then sanded with 80, 120, and 220 grit discs.

I then applied Watco Danish Oil Finish. I find that the fruitwood shade really brings out the red hues in oak and doesn’t affect the walnut color at all.

Now I just needed to attach the steel nut flange to hub, and the screw base to the bottom of the seat. The stool has an adjustable height from 24 to 30 inches.