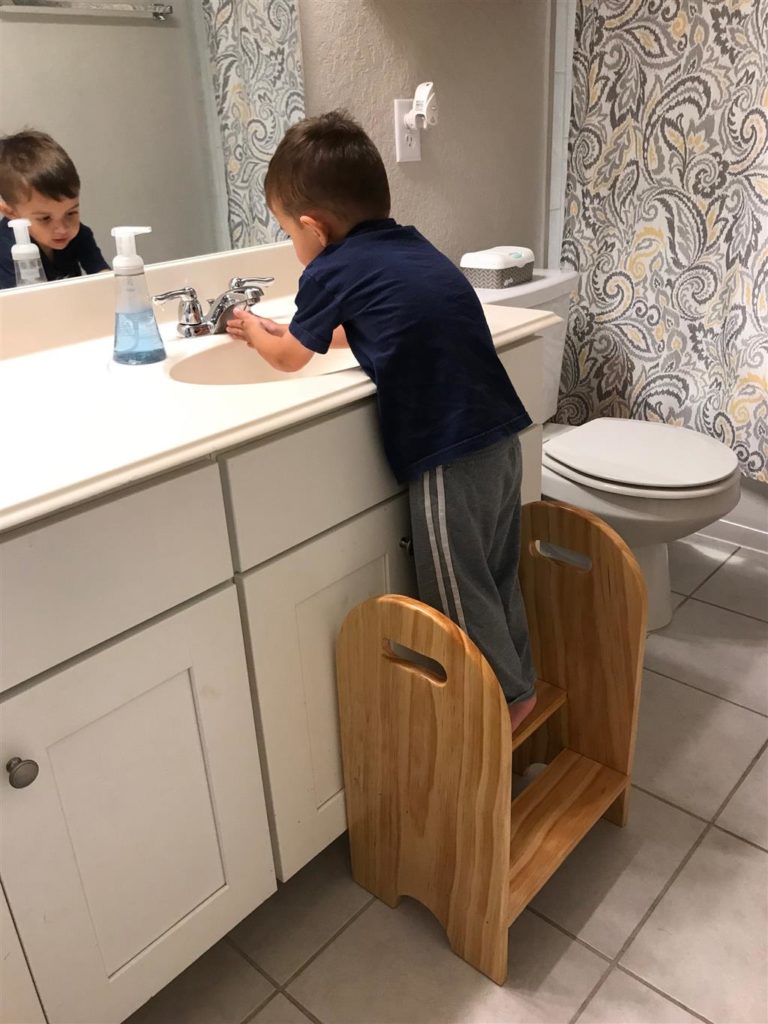
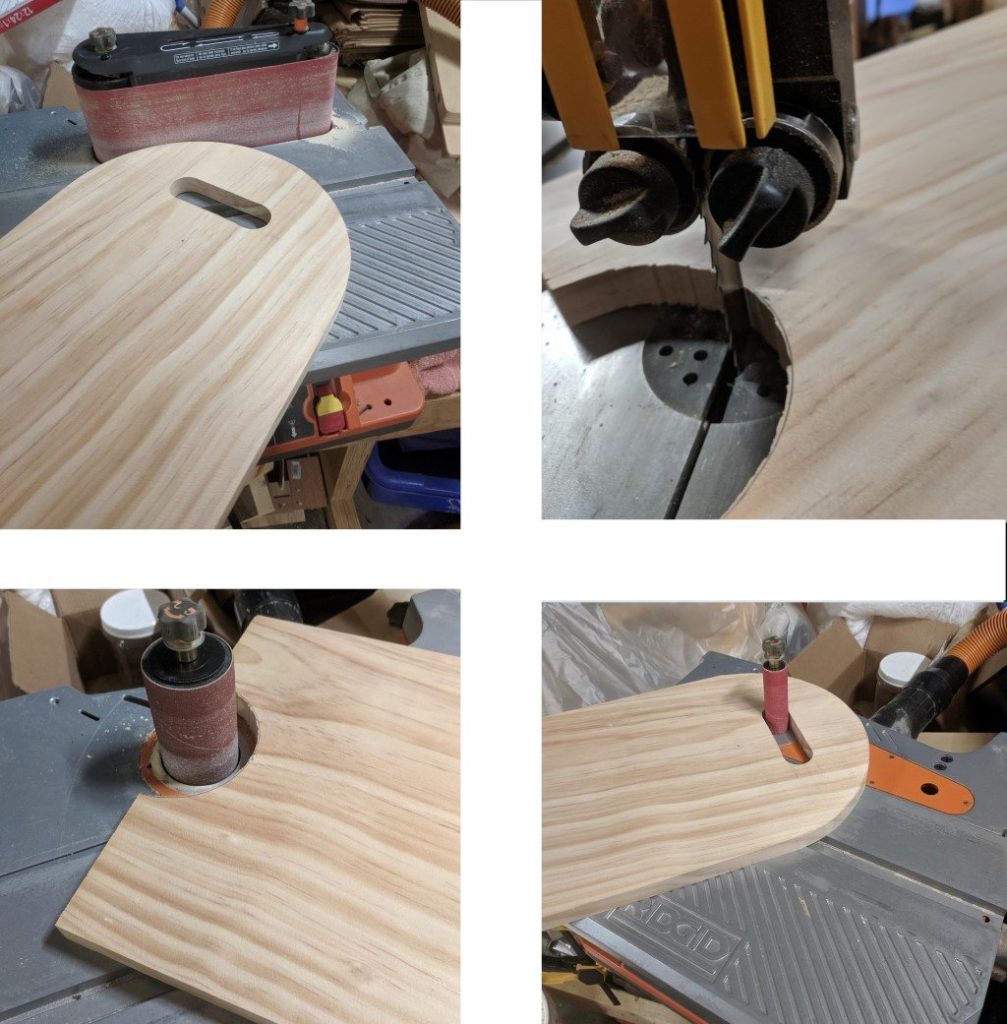
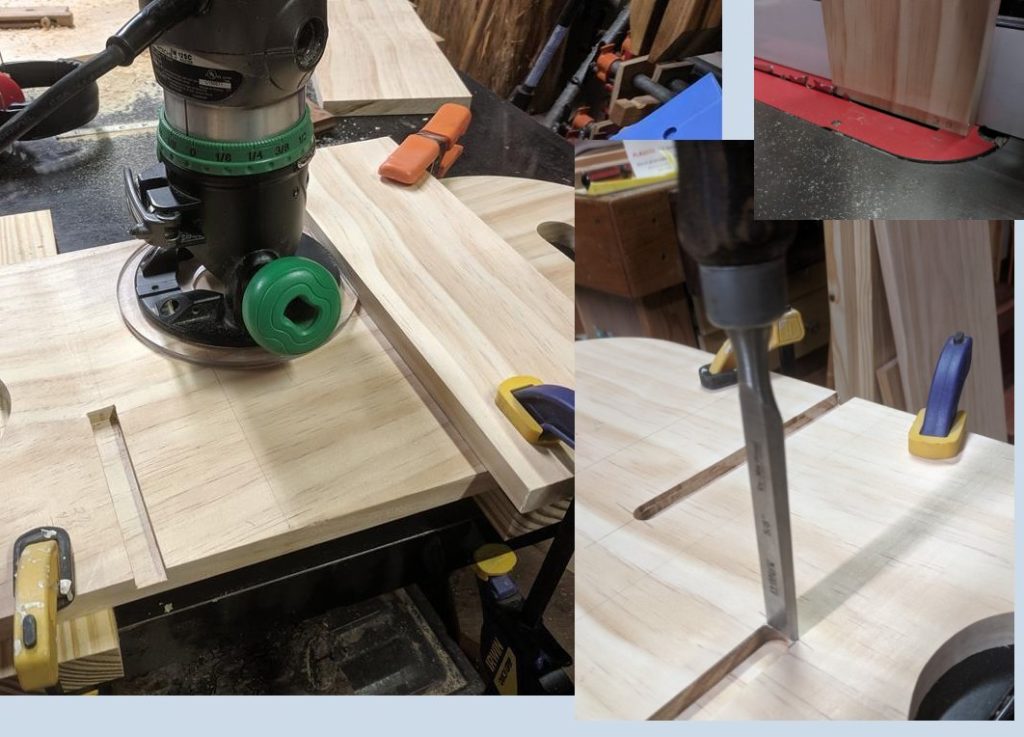
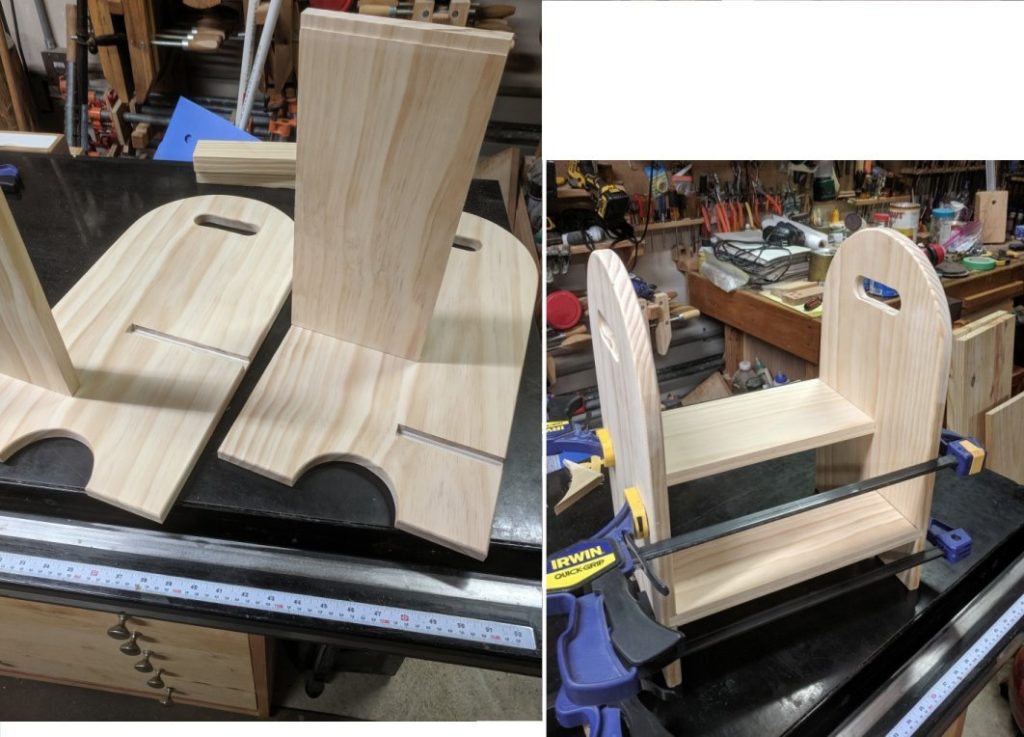
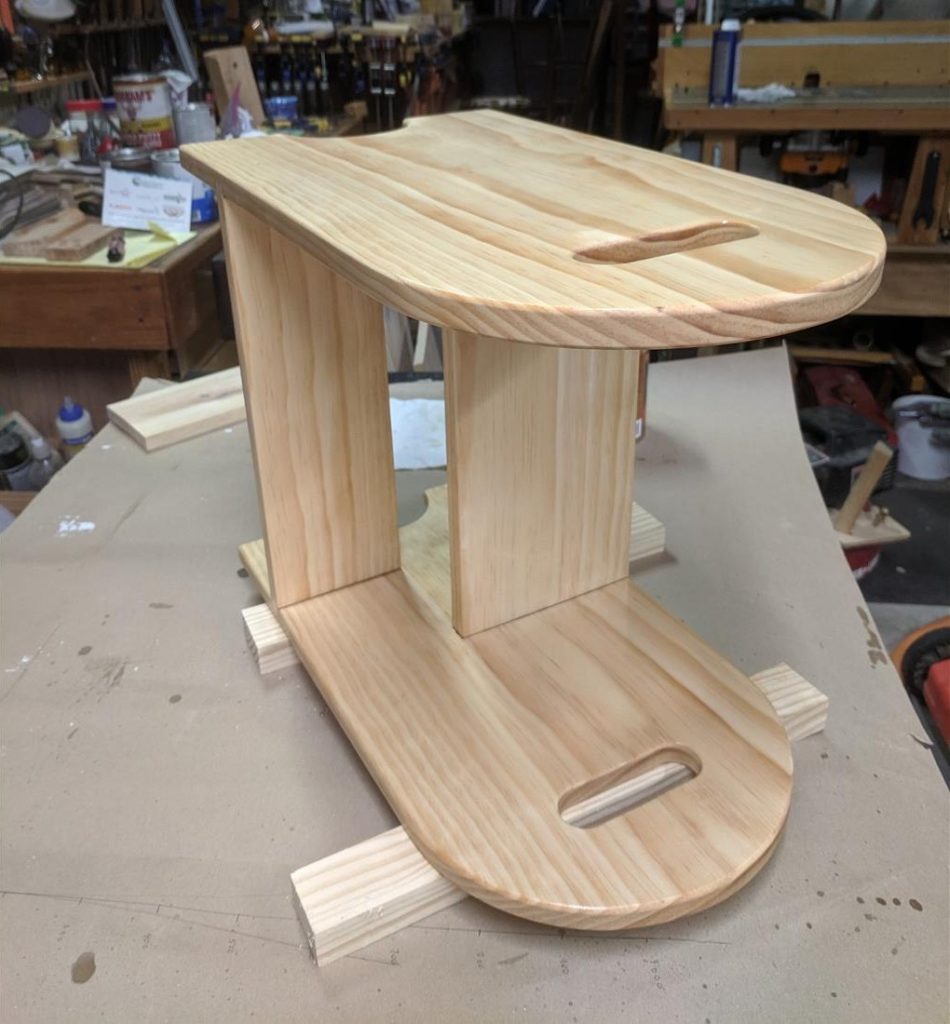
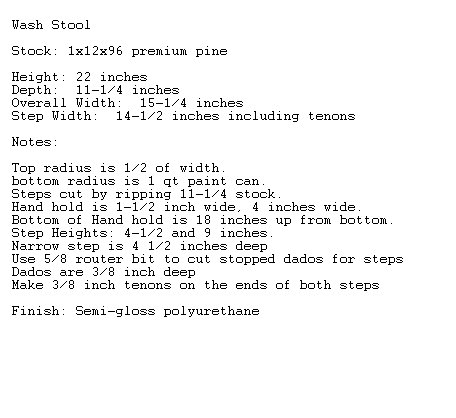
This is the third one of these I have made. What can I say? The grand-kids just keep coming!Start with the sides. I used premium 1×12 pine for this project. Cut the two sides 22 inches long. I used a large compass to layout the the top radius and a 1 quart paint can for the bottom radius between the legs. A band-saw was used to cut the outside curves, but a jig or sabre saw would work fine as well. For the bottom half circle, I made a series of cuts up from the bottom just short of the layout line about 1/2 inch apart. This allowed the waste to fall away as I cut on the waste side of the line with a wide blade. For the top hand hold I used a 1-1/2 inch forstner bit at each end and then a sabre saw for the upper and lower joining cuts. A belt sander was used to smooth the upper outside radius, and spindle sanders cleaned up the lower inside radius and the upper handhold. I used a 1/8 inch round-over bit on all edges.The steps were cut 14-1/2 inches long from the same stock used to make the sides, and then the lower narrow step was ripped 4-1/2 inches wide, the remaining piece served as the wider upper step. These are jointed to the sides with dado and tenon joints. A 5/8 inch router bit was used to cut the stopped dado in the sides. Two passes were made, one at 3/16 and the other at 3/8 inch deep. A chisel was used to square it up. About 1/16 inch of material was removed from the end of each step to make the tenon. Take the time to make small fence adjustments and sneak up on a snug fit.Before doing the glue-up, I sanded the inside faces of the pieces. The joints were first glued, then clamped, and finally fastened with a 16 gauge finish nailer. I marked the centers of the joints on the outside to accurately position the nailer. I left the clamps on over night. Make sure to check that it sets flat before finishing. I use the top of my table saw for a flat surface. My block plane was used to make small adjustments on the feet. I used a semi-glass polyurethane to finish the stool. I did a light sand between each coat.
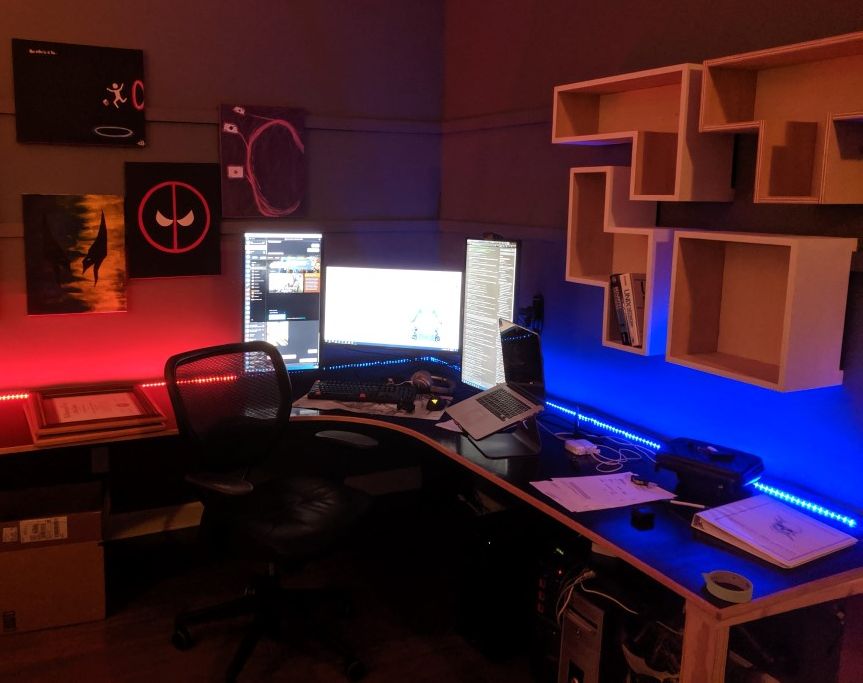
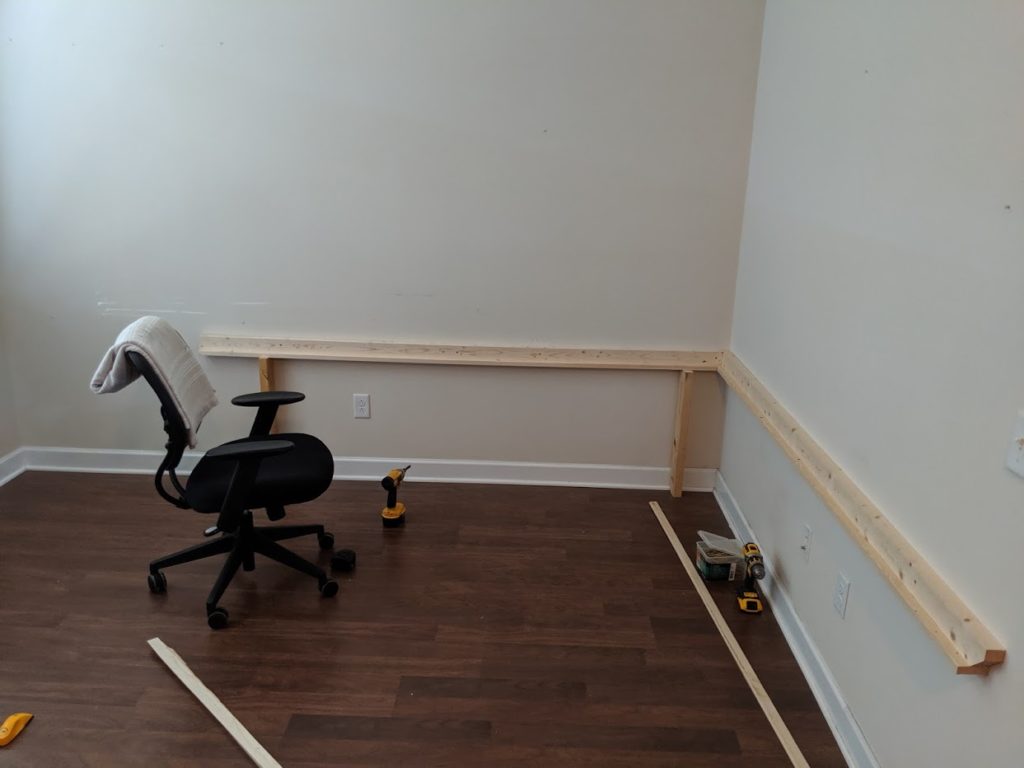
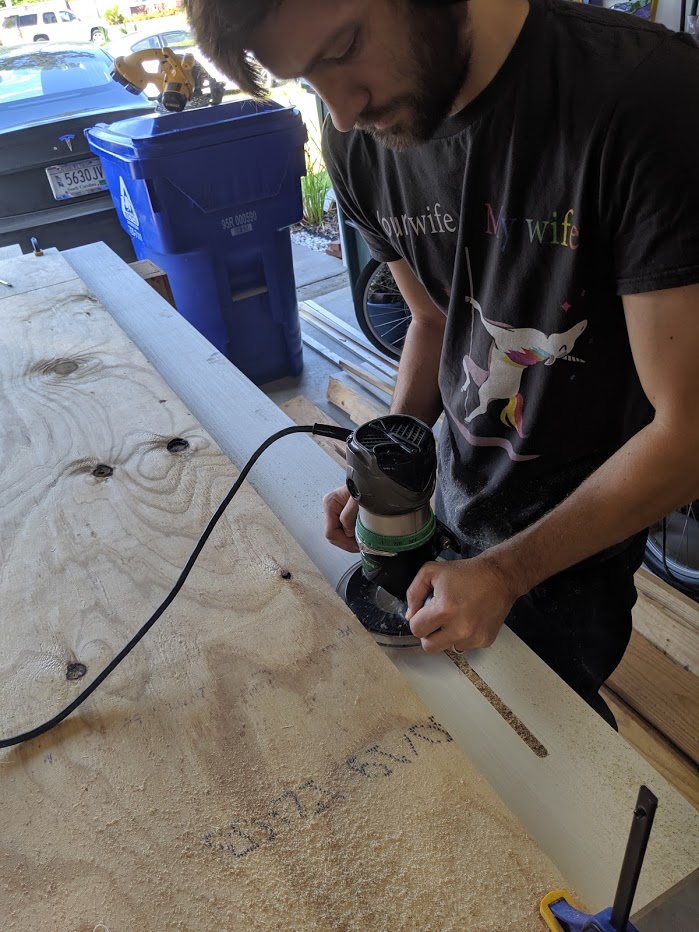
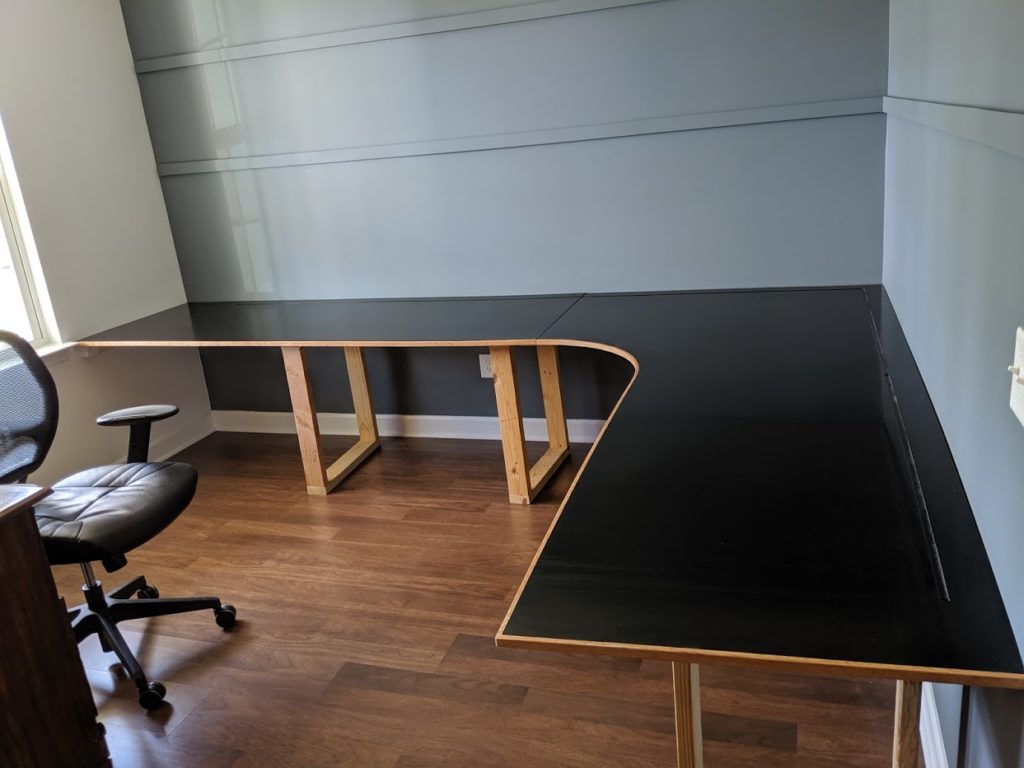
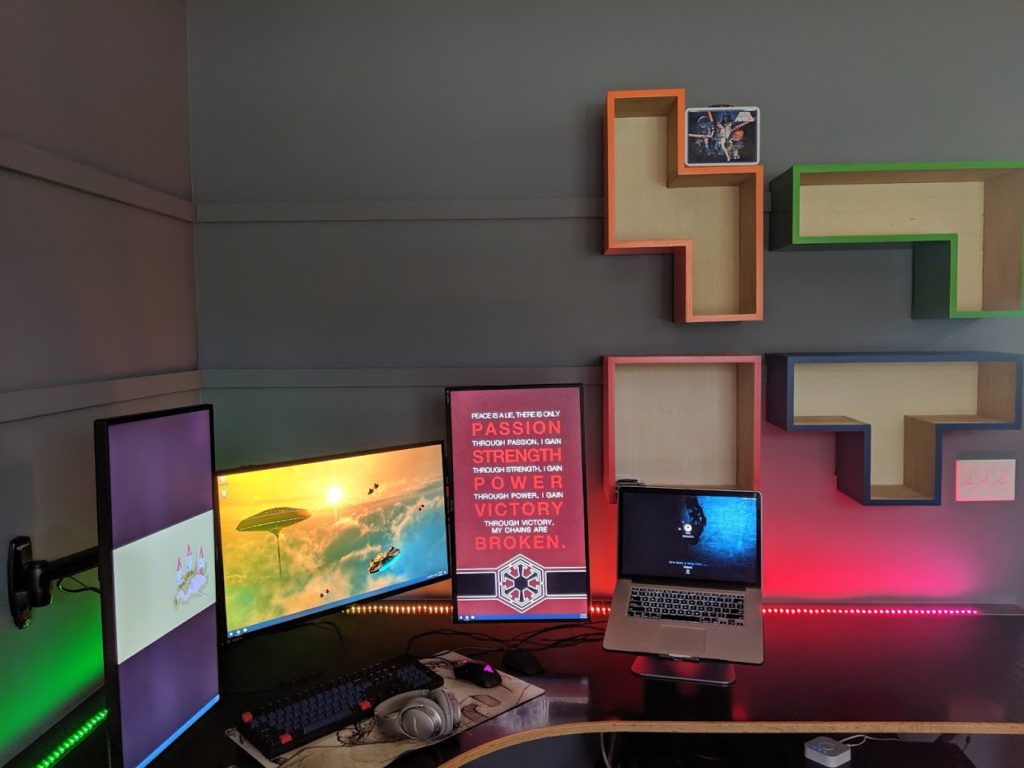
Zeek wanted a modern looking office space with back-lit LED lighting, wall mounted articulating monitors and configurable shelving. Here is what we came up with.We started by attaching 2×4 ledgers into the studs with 3 inch screws. A 1×3 was attached to the bottom of the ledger to act as the bottom of a wiring channel. Thin 1 1/2 inch strips were added the front of the 1×3 channels after attaching the to the wall to complete the U shaped trough.The sheet on the 8 foot wall was laid with a 16 inch radius (48 inch sheet width – 30 inches desk width) to make a smooth curve onto the 12 foot long wall section. We cut the curve with a sabre saw and outside the layout line and used an oscillating drum sander to smooth the cut to the line. A 5/8 inch wide router bit was used to make a channel for the LEDs at the back edge of the sheets of plywood used for the desktop. The channel was just deep enough to accommodate the thickness of the strips (3/16 inch). It was located about 3 inches from the back edge. The factory edge of another sheet of plywood was used as guide for the router base. The width of the desk was 30 inches. It extended 8 feet along one wall and 12 feet along the other. We brushed on a coat of MinWax Polyshades Classic Black on the desktops and followed it up with several coats of polyurethane, doing a light sand between coats. Two 1/8 inch thicknesses of red oak were bent around the inside curve of the desk edge, glued with Titebond III and clamped in place overnight to dry. We used a single 1/4 inch thickness of red oak on the the straight portions of the desk edges. The oak edges were finished with Watco Natural Oil.
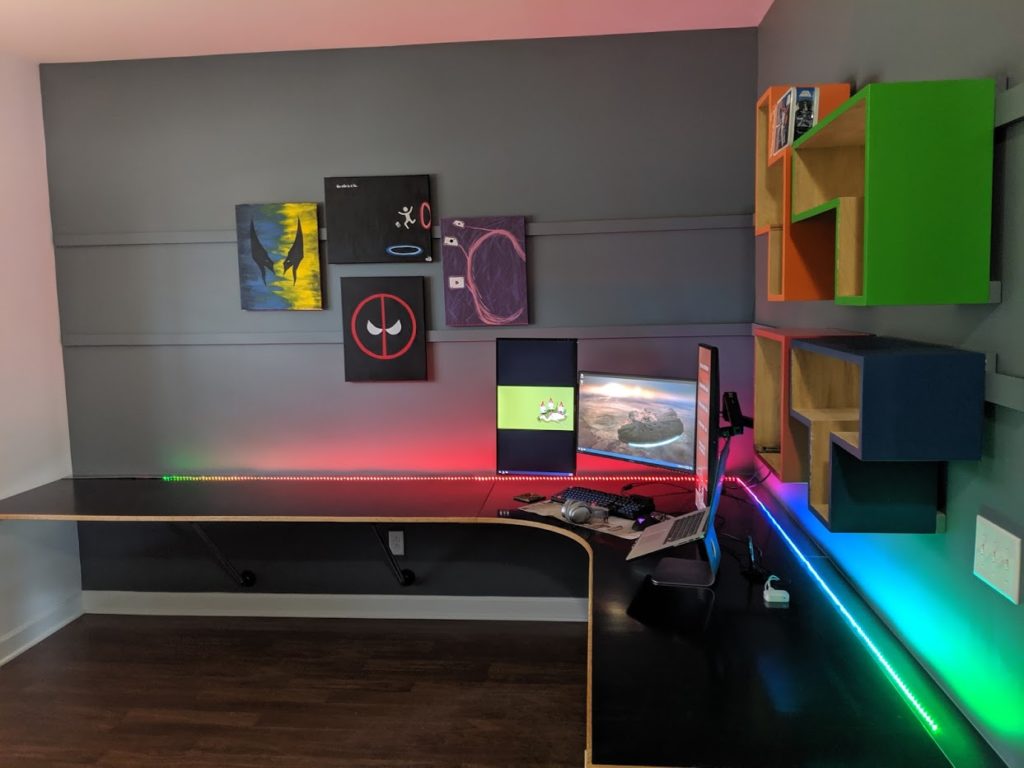
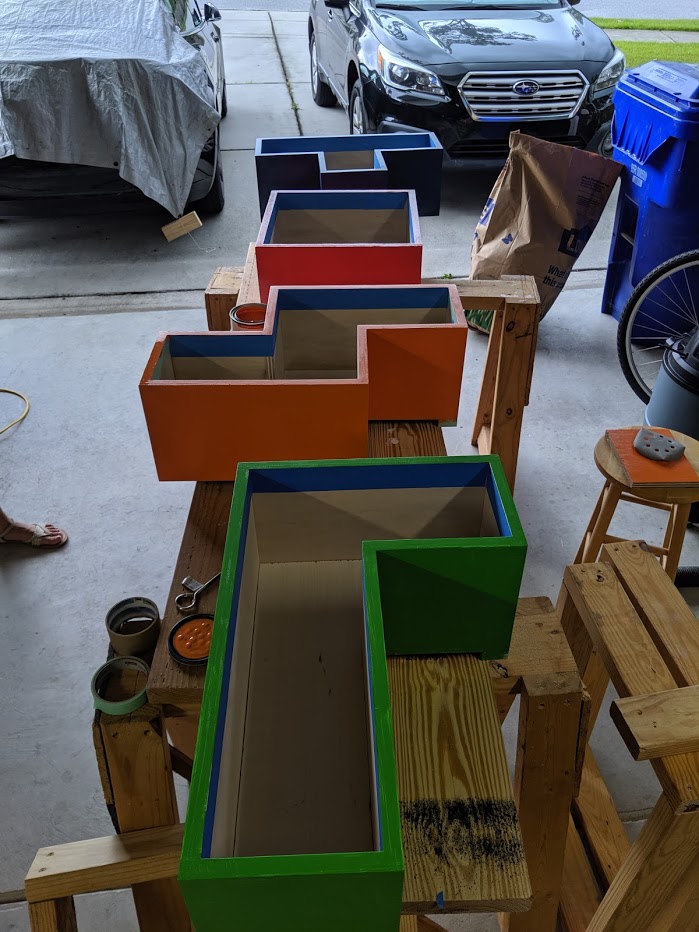
Temporary 2×4 braces supported the table tops at the correct height while they were attached to the wall ledgers with countersunk 2 1/2 inch screws. Two inch holes for a couple of black plastic desk cable grommets were drilled at the back edge of the desks, inside the LED recesses.Four canti-lever braces made from 3/4 inch black pipe fittings replaced the temporary 2×4 bracing under the desktop. They provided enough support to enable a person to sit on the desktop without sagging. Also notice the 5 inch wide plywood plate added underneath the desktop where the two 4×8 foot sheets of plywood butt against one another.French cleats were made by ripping a 1×4 inch pine board at 45 degrees and mounting the bottom half at two levels on the wall. The upper mating half was reserved for mounting to the backs of shelves, pictures, and any other component that was desired to be hung on the wall. Book shelves were built in several “tetris” block shapes from the 3/4 inch plywood desktop remnants. A 3/4 inch back provided the needed rigidity to the various shapes. They were primed and painted different colors. Full motion arm mounts were attached to wall studs to support three computer monitors. They swivel to support monitors in either portrait or landscape orientations and articulate to extend up to 20 inches from the wall.